Monday, June 16, 2014

Sustainable Landscape

Constructed Landscape: Project Two

In this project, students group of 7, are to research about a sustainable city from a list chosen by the lecturers that are famous for their green cities systems. Our group got the city Copenhagen, and we had to research about the green city principle, their technologies, implementation of sustainable landscapes and the cultural landscapes of the city.

After that, we would need to move on to the second stage of the project, that is site visiting. Our group had to visit Bank Negara, and we to choose a site within 5km radius to conduct research on the interaction of spaces, human activity, and the technologies within the site. Students also have to study the connectivity and circulation, cultural landscape, and context of the site. From the information, we then had to compile all the information into an A1 presentation board, including both researches on the green cities (Copenhagen) and our site (Bank Negara)

Presentation Board: Copenhagen

Presentation Board: Bank Negara


The final stage would be an individual component to make a small booklet. We had to find areas from our site, Bank Negara, and imply the researches on green cities onto the selected areas from our site to improve it landscape. We had to improve the areas so that it can be more sustainable and related to green cities planning.

Page 1 - Cover

Page 2 - Introduction to Site

Page 3 - Streetscapes Around Bank Negara

Page 4 - Transportation

Page 5 - Trees and Shades

Page 6 - Vehicle Lanes


Reflection: 
This project makes me understand more about green cities planning and how to make a land sustainable. From the green citites planning we had research, I found out that technology had a big relation to green city planning, and it affects the environmental, social, and economy issues a lot.

Taylor's Graduate Capabilities: 
Citizenship and Global Perspectives

Digital Literacy

Discipline Specific Knowledge

Interpersonal Skills


Orthographic Drawings

Introduction to Drawing: Final Project

The final project of Introduction to Drawing, like the previous project, also requires us to make a presentation drawing board, but this requires more complex drawings. The objective of this project is to introduce s different techniques of drawings to the elements in the built environment. Individually, we were to choose a 10m x 10m site from the previous project area (Block C Level 8). I had chosen a classroom, C8.04, which is a computer lab. With the site chosen, students were required to draw one Floor Plan, two Elevations Diagram, one Sections Diagram, and two Details Diagram. 

Drawings on Butter Paper:

Floor Plan Diagram


Elevations Diagram (1)


Elevations Diagram (2)


Sections Diagram


Details Drawing: Door Knob

Details Drawings: Fire Sprinkler


Presentation Board:

Floor Plan Diagram
Elevation Diagram (1)
Elevation Diagram (2)

Section Diagram
Details Drawing: Door Knob
Details Drawing: Fire Sprinkler


Reflections: 
From this project, I learned into more details about drawing, continued from the previous project. In order to produce a good project, you not only have to be precise when drawing the detailing, but the scale is a big part as because if the scale is not accurate, the whole drawing would seem funny. Drawing Floor Plan had been easy because I learned to do it right from the previous project, Elevations and Sections are a little challenge, but to me they were pretty fun to draw. The hardest to draw is the Details Drawing, because not only you had to use the right measurement and scale, but it requires you to research the certain element and see how the inside of it works. Over all comparing from the previous project, I think I did a better job for this project.

Taylor's Graduate Capabilities:
Digital Literacy

Discipline Specific Knowledge

Intrapersonal Skills

Sunday, June 15, 2014

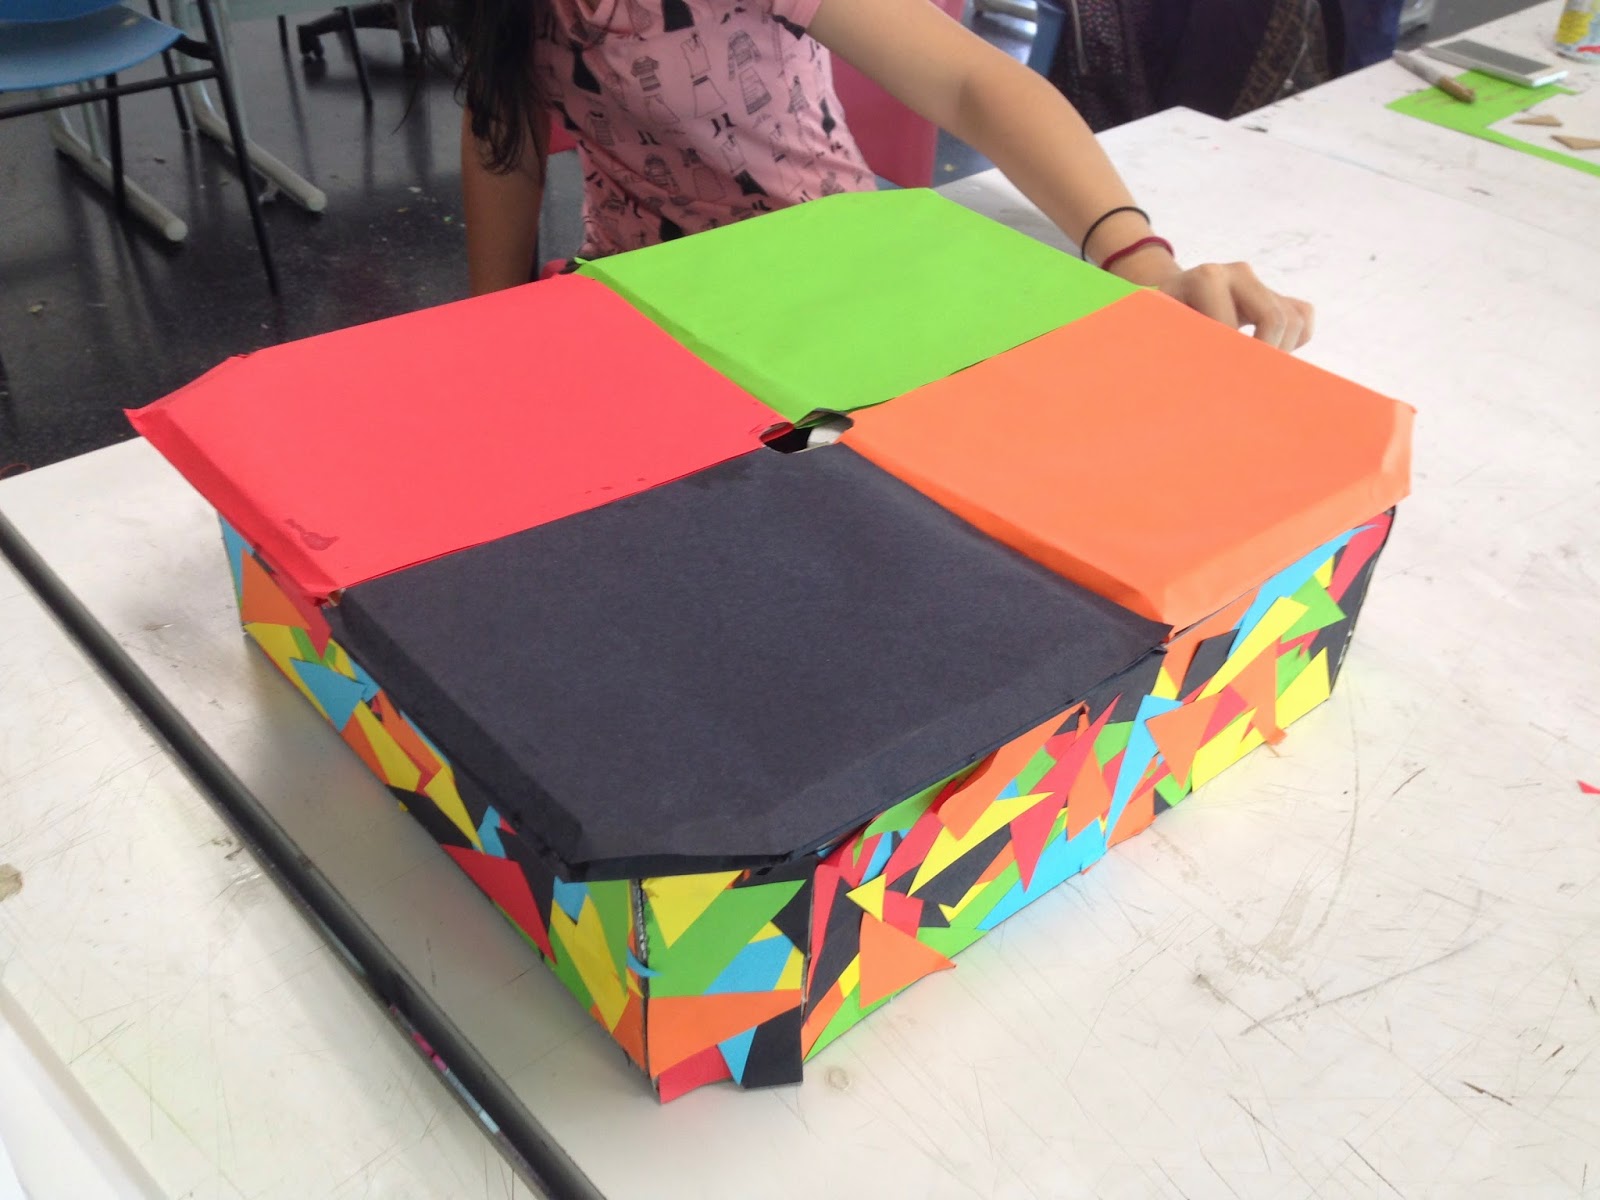
Give and Take Game Board

Creative Thinking Skills: Project Two

In this project we are supposed to create our board game. Like the title, we are supposed to use our creativity and think critically to create a board game that should not be created before. There are two parts of the project, individual and group.

Part One - Individual Task: Creating your own Board Game

For the individual part we are supposed to create our own individual board game and document everything onto an A4 booklet. My board game is called Battlefield, and it is something like a puzzle version of what happens on a battlefield. There are a few things we should include in our proposal, that are:

a. Objectives and information about or board game
b. Idea development and process
c. Experimentation, research and investigation
d. A simple illustration of the name of game, logo and packaging
e. A simple explanation of how the game was played and rules

Individual Proposal


Part Two - Group Task: Game Board Making and Carnival

For the second part of the game, which is the group part we were to choose one board game among the group members and start building the board game up and then be organized in the game board Carnival. Other than the board game, we should make a promo video to promote our board game as well. The board game should include all the items needed, a manual, and proper packaging, just like how a proper board game should be.

How to play Give and Take?
1. The players had to first play a game of question and answers to determine the number of blocks they would have to start out before actually getting onto the game board. This session would take 10 minutes.
2. During the Q&A session, players should answer as many correct answers to accumulate points, which can be exchanged into blocks.
3. After the Q&A session, players would then get onto the game board to continue the second part of the game: building.
4. Each players would be given different checklist of what to build.
5. Players would be given 5 minutes to build one thing from their checklist with the initial blocks they got from the Q&A.
6. After the 5 minutes of building, players would take turns to spin the needle and pick the sticks from the middle of the board.
7. The needle would determine where would the player take the blocks from, and the sticks determines how many blocks can the player take.
8. The players should then continue building the things off their checklist.

How to win?
- First to finish building things off the checklist
- Building has to be at least 10 layers tall
- Building is stable and wouldn't topple over

Give and Take Game Board: Process

Items in the Board Game:

Packaging


 Arrangement of items


Items


1. Questions: Questions to be answered before the game to accumulate nanoblocks
2. Whiteboard and Marker: For the host to write out things to be built
3. Nanoblocks and Compartments: Nanoblocks to built things to be cancelled off the list, compartments to store blocks.
4. Timer: For the host to record time
5. Manual: To understand game
6. Sticks: To determine how many blocks can be taken by player

Reflection: 
Through this project I learned that a board game does not require too much hard work to make, unlike how I used to think how Monopoly are created and made into an actual game board. All it needs is just some creativity enthusiasm to make an actual board game out.

Taylor's Graduate Capabilities:
Communication Skills

Interpersonal Skills

Thinking and Problem Solving Skills

Saturday, June 14, 2014

Posuki: How To Be Popular Survival Kit

Creative Thinking Skills: Project One

This project required students to make a survival kit according to the topic they chose. My group had chosen How To Be Popular Survival Kit, and we were supposed to make a design and create a survival kit for the topic.

Part One - Group Task: The survival kit

Prior to making the survival kit, each other students had to think of two items (adding up to be 20 items in total) relevant to the survival kit to be used. We should also include the manual on how to use the items, whether to use a booklet or an attached to the item on a tag, like my group did. Since we were trying to promote our survival kit, of course we had to include a branding logo to our kit, and that is "Posuki", that came from the two initial letters in Popular Survival Kit. Since it sounded like a Japanese name, we used the Japanese style as our theme in our survival kit.


Part Two - Group Task: Advertisement video of the survival kit

After doing the packaging and designing of the survival kit, we made our advertisement video to in a way "promote" our survival kit. We had planned out a skit for the video to make it more enjoyable. The video is about a girl who had no friends, and was treated as an invisible person to anyone else, but it all changed when she met a mysterious person who gave her a box that magically turned into a Japanese looking kit...


Part Three - Individual Task: Journal (Later complied into Group Journal)

Individually, we were to record the items we chose for the survival kit in loose papers so that it could be compiled into a group journal to be passed up. We were to ask and answer questions on the journal about why we had chose the items and why was it important for the survival kit and so on. Other than the items Journal, we had to include the Group Journal with the process in making the survival kit and the storyboard of our advertisement video.


Reflection: 
From this project I learned that there are many ways to define a "survival kit", not just a little kit for medication purposes or a kit for emergencies for outdoor activities. Like for our group's, it's called the How to be Popular Survival Kit and we even managed to think of so many interesting things for the kit. I think that thinking creatively not only make things more interesting and out of the box, but it also helps to expand one's thinking.

Taylor's Graduate Capabilities: 
Communication Skills

Interpersonal Skills

Thinking and Problem Solving Skills

Friday, June 13, 2014

IDJ 4: Cover and Compilation

Creative Thinking Skills: Idea Journal Four

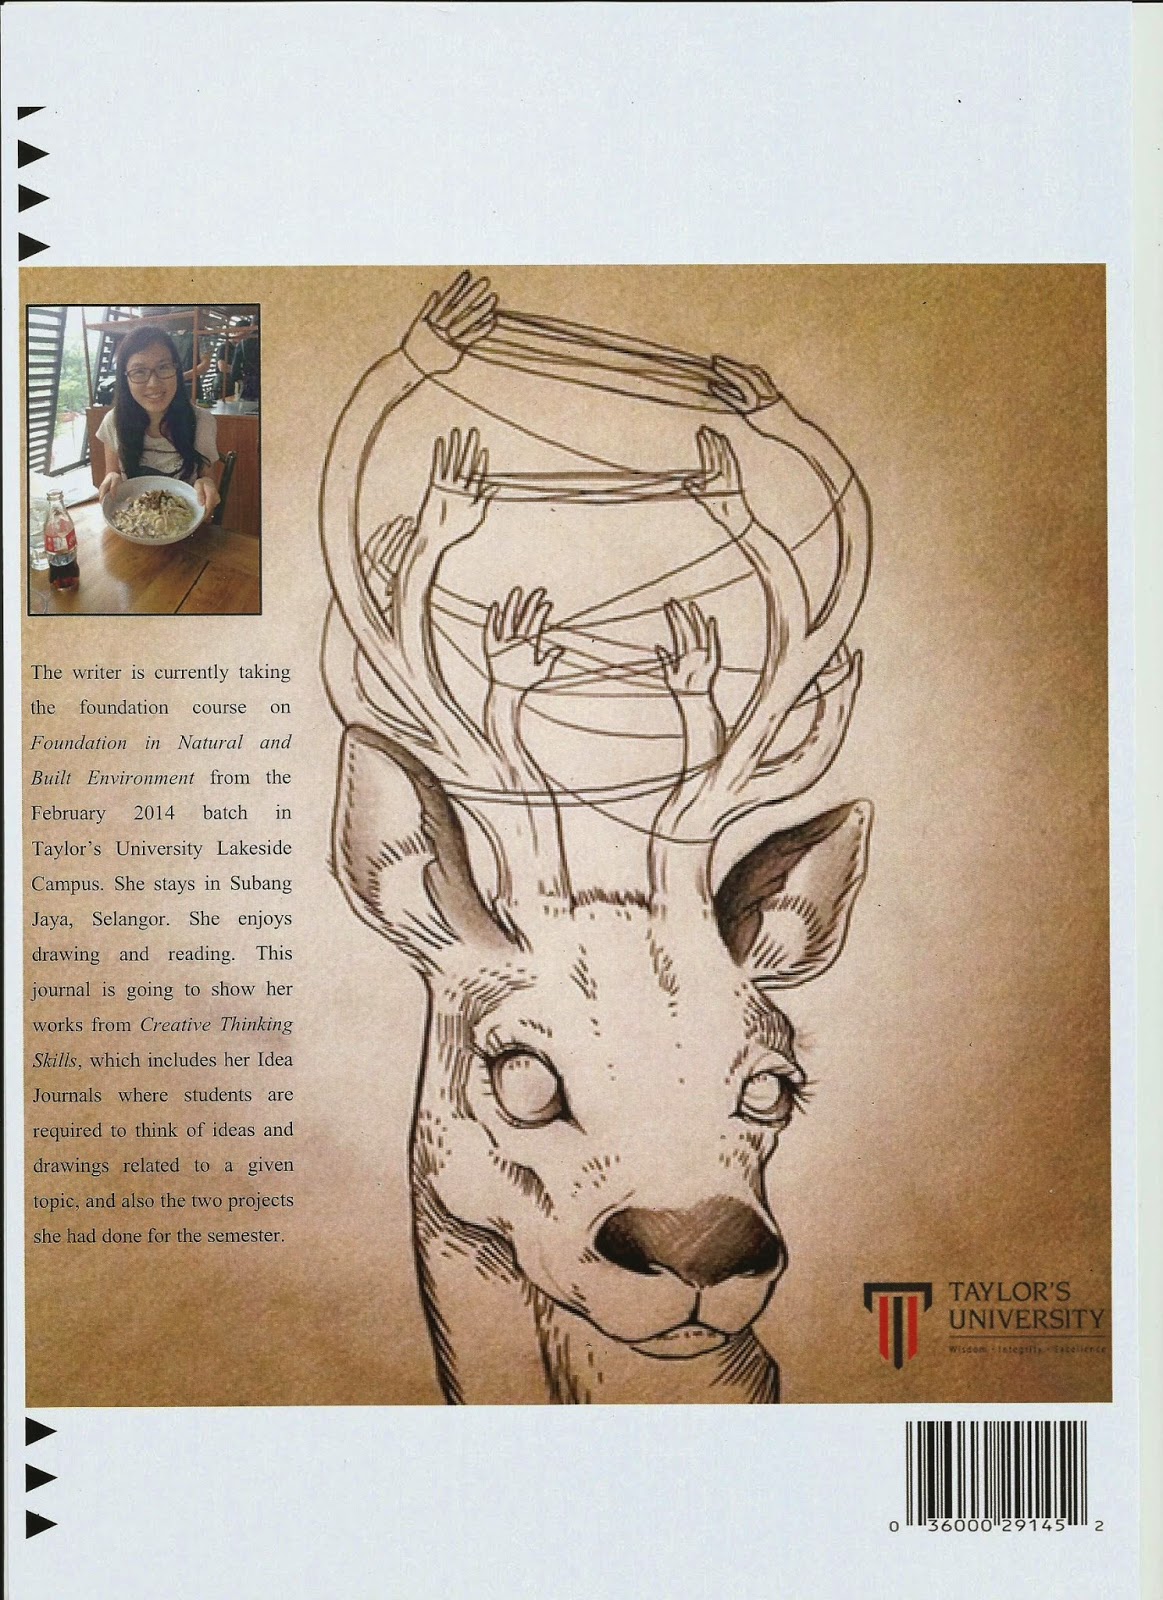
This is the last Idea Journal, which required us to create a cover, spine and back for the compilation of the 3 idea journals and the 2 projects.

Cover 

Spine

Back


Compilation

IDJ 3: So Now I'm the Superfamous Superhero

Creative Thinking Skills: Idea Journal Three

In this Idea Journal we were to create our very event for our superhero to meet the world. My superhero is making an event to make people appreciate the colours they are living in. In the world my superhero lives, in, the people got bored of colours and never get interested in them any more. Because of that, my superhero had to make make this event to teach everyone to appreciate, but at the same time it is an event for her to meet the people. Other than that, we should also include a merchandise, and mine is something related to my superhero.

Page 1 - How did the idea of event came about?

Page 2 - Idea on Invitation Letter

Page 3 - Merchandise

Reflection: 
From this Idea Journal I learned to relate things together. For example to relate my superhero's character, power, and interest to the event she was going to make. This is also a good skills to pick up especially when trying to organize information and researches. Besides that, I also learned to make a proper comic strips (first page) which I don't used to know how to. 

Taylor's Graduate Capabilities: 
Intrapersonal Skills

Lifelong Learning

Thinking and Problem Solving Skills